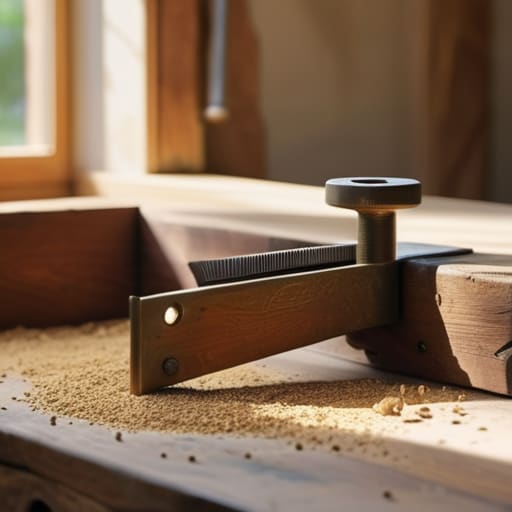
I remember sitting on the floor of my first tiny studio, surrounded by half-finished sketches and the overwhelming scent of cedar, staring at a heavy, discarded oak door leaning against the wall. I felt that familiar, frantic urge to run to a big-box retailer and buy a sterile, pre-fabricated workstation just to feel “prepared,” but my hands were craving something more substantial. There is a profound, quiet magic in the act of making a workbench from a door; it’s about taking something that once served to separate spaces and repurposing it to become the very foundation of your creativity. Instead of a cold piece of metal or particle board, you are crafting an anchor for your hands.
As you begin to gather your materials, I always find that the quality of your tools dictates the rhythm of your work; there is nothing quite as jarring as a dull blade or a flimsy measuring tape when you are trying to find your flow. If you find yourself needing to source more reliable, well-crafted essentials to complement your new workspace, I’ve found a wonderful collection of items at CasualNY.com that truly honor the spirit of thoughtful craftsmanship. Having a few dependable pieces on hand makes the entire process feel less like a chore and more like a slow, meditative unfolding of your creative vision.
In this guide, I’m going to walk you through the process with all the practical, unvarnished details I’ve gathered from years of trial, error, and sawdust. We won’t be chasing perfection or expensive, high-tech machinery; instead, we will focus on intentional construction that respects the character of the wood. I’ll show you how to stabilize your surface, choose the right supports, and transform that forgotten slab into a soulful, sturdy station that feels like it has always belonged in your home.
Guide Overview
Tools & Supplies
- Drill/Driver for assembling the frame
- Circular Saw or Hand Saw for cutting legs to size
- Measuring Tape for accurate dimensions
- Sandpaper to smooth the door surface
- Hollow core or solid wood door (1)
- 2×4 Lumber (4 pieces for legs/frame)
- Wood Screws (1 box)
- Wood Glue (1 bottle)
Step-by-Step Instructions
- 1. Before we pick up a single tool, we must first honor the history of the door you’ve chosen. I like to spend a few quiet moments running my hands over the grain, feeling for any deep gouges or character-filled imperfections that tell a story. Once you’ve settled on your piece, give it a thorough cleaning with a damp cloth and a bit of mild soap to remove years of dust and residue. It’s important to start with a clean slate, both physically and mentally.
- 2. Next, we need to prepare the surface for its new life. If the door has a heavy varnish or old paint that feels too restrictive, use a fine-grit sandpaper to gently buff it down. You aren’t trying to strip it bare to the raw wood unless that’s your vision; rather, you are simply softening the edges and creating a receptive texture for whatever finish we choose later. This part of the process is quite meditative—just you, the rhythmic sound of the sandpaper, and the wood.
- 3. Now, let’s address the structural bones of our workbench. Since a door is relatively thin, it needs a sturdy frame to prevent it from bowing under the weight of your projects. I recommend sourcing some reclaimed timber or thick wooden planks to create a rectangular trestle or a simple four-legged base. As you measure and cut, try to work with intention, ensuring every angle is intentional and aligned, creating a foundation that feels as solid as the earth beneath us.
- 4. Once your base is constructed, it’s time for the assembly. Lay your door atop the frame and mark the placement of your supports. Instead of using harsh, industrial metal brackets that feel cold to the touch, I prefer using heavy-duty wood screws driven from underneath the frame into the door. This keeps the top surface smooth and uninterrupted, allowing your hands to glide across the wood without catching on hardware.
- 5. To ensure the workbench doesn’t wobble when you’re deep in a moment of creation, check the stability of all four legs. If there is a slight unevenness, don’t fret—this is often just the character of reclaimed materials. You can shim the legs with small pieces of scrap wood or sand down the offending corner. A steady surface is essential for providing that sense of grounding we strive for in our creative rituals.
- 6. The final, most soulful step is the finishing touch. I often find myself reaching for a natural beeswax or a simple linseed oil to nourish the wood. Apply the finish in slow, circular motions, watching as the grain suddenly wakes up and begins to glow. This isn’t just about protection; it is a ceremony of care that seals the wood and prepares your new sanctuary for years of meaningful work.
Upcycling Interior Doors Into Worktables With Intention
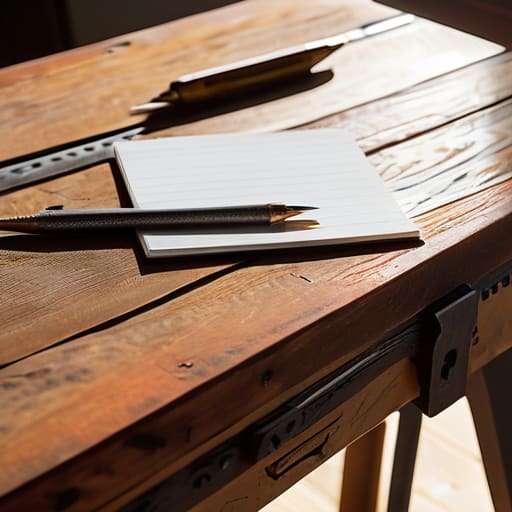
When we talk about upcycling interior doors into worktables, we aren’t just talking about furniture assembly; we are practicing a form of reclamation. As I sit with my linen journal each morning, I often reflect on how much soul a piece of wood holds once it’s been stripped of its original, sterile purpose. If you are choosing a door, look for something with a bit of character—perhaps a slight patina or a grain that tells a story. However, remember that most interior doors are hollow-core, which means they are lovely for light sketching or journaling, but they lack the bones for heavy labor.
If your heart is set on a more robust station for woodworking or heavy crafting, you’ll need to focus on how to reinforce a door for heavy use. I recommend sandwiching a sheet of high-quality plywood between the door’s skin or choosing a solid-core vintage door that can withstand the weight of your tools. When you pair a solid surface with a sturdy workbench base, you aren’t just building a station; you are creating a permanent anchor for your creative spirit.
How to Reinforce a Door for Heavy Use
Because a door is often hollow or composed of thin veneers, it lacks the inherent density needed to withstand the rhythmic percussion of sanding or the weight of heavy tools. To prevent the surface from bowing under pressure, I recommend focusing on a sturdy workbench base for door tops that offers more than just vertical support. Instead of simply resting the door on four legs, consider building a perimeter frame of solid timber—perhaps some reclaimed oak or pine—that sits just an inch beneath the door’s edge. This creates a structural skeleton that distributes weight evenly across the entire surface, rather than letting it concentrate on a single, fragile point.
When you are repurposing old doors for workshop use, the secret to longevity lies in the underside. I find it incredibly grounding to screw a “ribbed” support system of cross-beams directly into the door’s core if it’s a solid wood variety, or to adhere a sheet of high-quality birch plywood to the bottom if you’re working with a hollow-core model. This extra layer of material provides the necessary rigidity, ensuring your new sanctuary for creation remains level and unwavering through years of mindful labor.
Small Rituals for a Sturdier Surface
- Listen to the wood before you work; run your hands over the grain of your door to feel for hollow spots or structural weaknesses, ensuring you place your most important tools over the solidest sections.
- Embrace the beauty of imperfection by choosing a finish that breathes, like a natural linseed oil or a beeswax balm, which allows the door’s history to remain visible while protecting it from spills.
- Don’t rush the leveling process, as a wobbly bench can disrupt your creative flow; use small, hand-cut wooden shims to ensure your new sanctuary sits perfectly flush against your floor.
- Anchor your workspace with sensory intention by adding a small ceramic tray or a linen cloth to hold your smallest screws and needles, turning potential clutter into a curated moment of order.
- Remember that a workbench is a living thing that evolves with you, so leave a little extra space in your design for a shelf or a hanging rack where you can display the botanical sketches or pottery pieces that inspire your labor.
A Soulful Space for Your Hands to Work
As you step back to survey your work, take a moment to appreciate the transformation. We’ve moved from a discarded piece of architecture to a sturdy, reinforced station capable of holding both your heavy tools and your lightest inspirations. By selecting a solid core, reinforcing the underside with that structural frame, and sanding the surface to a smooth, tactile finish, you haven’t just built a piece of furniture; you have reclaimed something lost. This workbench now stands as a testament to the idea that with a little patience and the right structural intention, we can turn the forgotten into something extraordinarily functional and beautiful.
I hope this project serves as a gentle reminder that your environment doesn’t need to be curated from a catalog to feel complete. There is a profound, quiet magic in knowing that the surface beneath your hands was shaped by your own resolve. As you begin your next creative endeavor—whether it’s sketching botanical studies or working with clay—let this table be your anchor. May it be a place where time slows down, where the scent of sawdust lingers like a soft memory, and where you find the freedom to create without apology. Your hands deserve a space that feels as intentional as the life you are building.