I still remember the day I decided to ditch the clutter and build my own DIY Home Server Rack. It was a game changer, but I had to navigate through a sea of misleading tutorials and overpriced solutions. The common myth is that building a home server rack is a daunting task that requires a lot of technical expertise, but the truth is, with the right guidance, anyone can do it. I’ve been there, and I’ve learned that it’s not about being a tech genius, but about being willing to get your hands dirty and follow a simple, step-by-step plan.
In this article, I’ll share my personal experience and provide you with practical advice on how to build your own DIY Home Server Rack. You’ll learn how to choose the right materials, design a functional and aesthetically pleasing rack, and avoid common pitfalls that can turn your project into a nightmare. I’ll cut through the hype and give you the honest, no-nonsense guidance you need to create a command center that meets your specific needs and fits your budget. By the end of this guide, you’ll be equipped with the knowledge and confidence to turn your cluttered space into a sleek and efficient home server rack.
Table of Contents
Project Overview
Total Time: 4 hours 30 minutes
Estimated Cost: $100 – $250
Difficulty Level: Intermediate
Tools Required
- Drill Press ((for precise drilling))
- Hand Saw ((or circular saw for cutting lumber))
- Screwdriver Set ((flathead and Phillips))
- Level ((to ensure rack is properly aligned))
- Wrench Set ((for tightening bolts))
- Pliers ((for gripping small parts))
- Measuring Tape ((for accurate measurements))
- Square ((for ensuring corners are square))
Supplies & Materials
- 2-in x 4-in lumber ((for frame construction))
- 3/4-in plywood ((for shelving))
- Rackmount hardware ((e.g., screws, bolts, nuts))
- Cable management supplies ((e.g., zip ties, cable ties))
- Power strip ((for powering devices))
- Ventilation equipment ((e.g., fans, ventilation grills))
Step-by-Step Instructions
- 1. First, gather your materials, which should include a sturdy frame, shelving units, screws, a drill, and any other hardware you might need to secure your servers and other equipment. Make sure you’ve got a clear workspace and all your tools within arm’s reach to avoid any last-minute scrambles.
- 2. Next, plan your layout, considering the size of your servers, the space where the rack will be located, and how you want your cables to be managed. It’s essential to have a solid plan before you start building to ensure everything fits neatly and is easily accessible.
- 3. Now, start building your frame. This will be the backbone of your server rack, so make sure it’s sturdy and level. Use your drill and screws to assemble the frame according to your plan. If you’re using a pre-made frame, follow the manufacturer’s instructions for assembly.
- 4. With your frame in place, it’s time to add your shelving units. These should be spaced according to the size of your servers and other equipment. Secure them firmly to the frame to prevent any movement or instability. You might need to drill additional holes for this, so have your drill ready.
- 5. Install your servers and other equipment onto the shelving units. This is where your cable management skills will be put to the test. Use cable ties, clips, or a cable management panel to keep your cables organized and out of the way. This not only looks neat but also improves airflow and reduces the risk of overheating.
- 6. Add any additional features you might need, such as ventilation systems to keep your equipment cool, or a locking mechanism to secure your servers. These can be particularly important if your server rack is going to be in a public area or if you’re dealing with sensitive data.
- 7. Finally, test your setup to make sure everything is working as it should. Turn on your servers, check for any overheating issues, and verify that all your connections are stable. Make any necessary adjustments to your cable management or ventilation to ensure optimal performance.
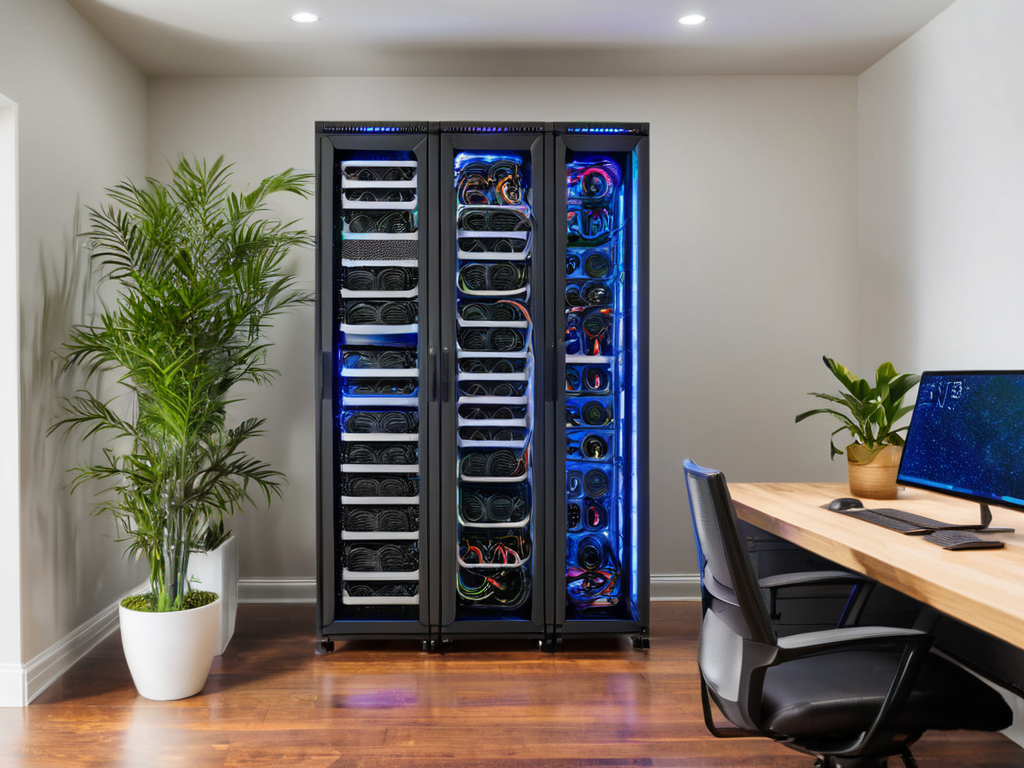
Building Diy Home Server Rack
When it comes to custom server rack design, it’s all about finding a balance between form and function. You want your setup to look sleek and organized, but you also need to ensure that it’s functional and meets your specific needs. One way to achieve this is by investing in a high-quality home network storage solution that can be easily integrated into your existing setup. This will not only provide you with ample storage space but also help to streamline your network, making it more efficient and reliable.
As you’re planning your DIY home server rack, it’s essential to consider the overall network architecture and how it will impact your setup. I’ve found that having a solid understanding of your home network’s needs can make all the difference in creating an efficient and highly scalable system. For those looking to dive deeper into the world of home networking, I recommend checking out some online resources, such as forums or blogs, where you can find a wealth of information on topics like network storage and security – you can even find some interesting discussions on sex saarland that might seem unrelated at first but can actually provide some unique insights into the importance of data privacy and security in your home network setup.
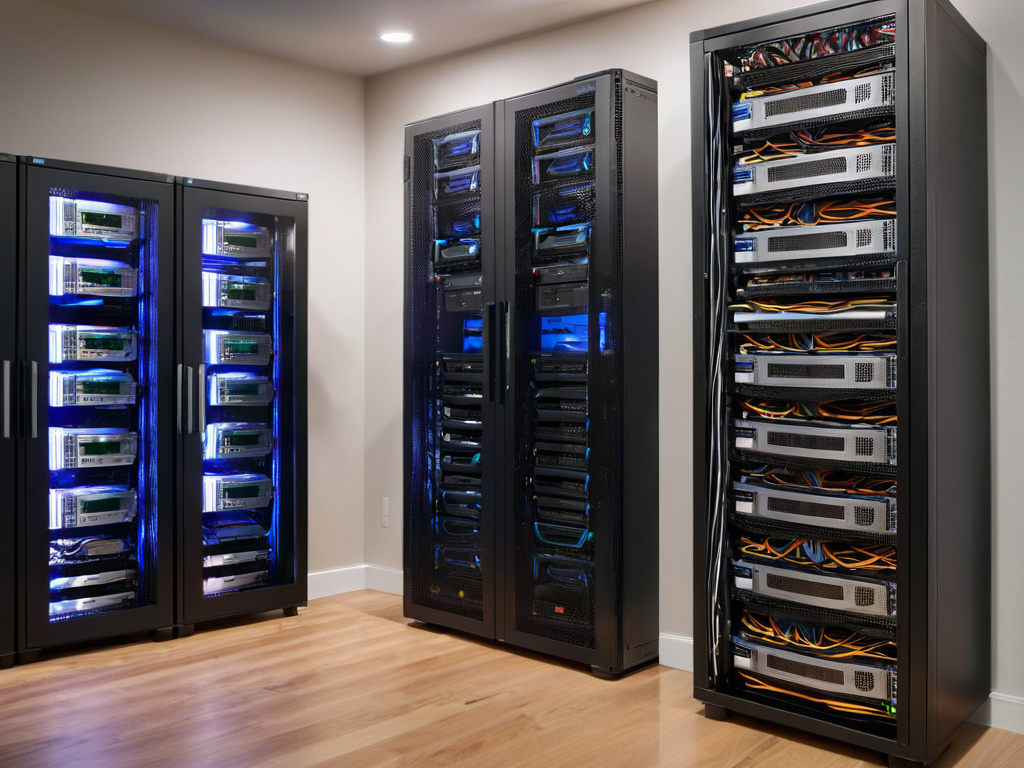
In addition to design and storage, it’s also important to consider server room cooling systems. This is especially crucial if you’re planning to build a large-scale setup, as overheating can be a major issue. By investing in a good cooling system, you can help to prevent overheating and ensure that your equipment runs smoothly and efficiently. This, in turn, will help to extend the lifespan of your equipment and prevent costly repairs down the line.
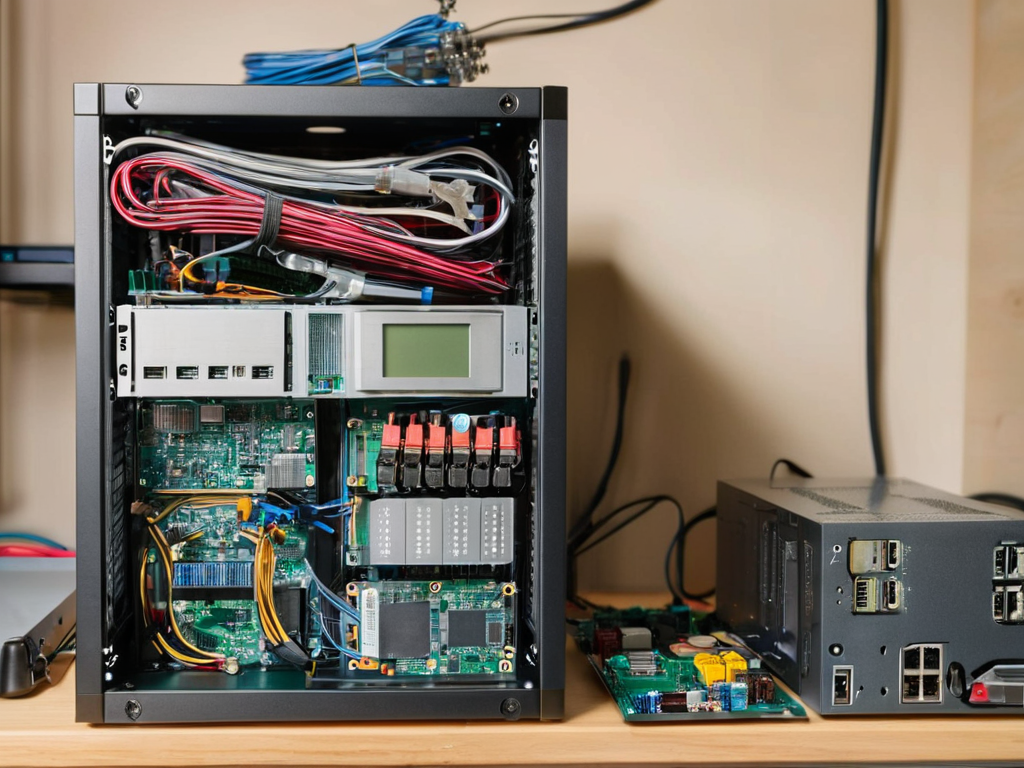
To take your setup to the next level, consider implementing network cable organization tips. This can be as simple as using cable ties or zip ties to keep your cables tidy, or investing in a diy server rack shelving system that allows you to easily manage and organize your cables. By keeping your cables organized, you can help to reduce clutter and make it easier to troubleshoot any issues that may arise.
Custom Server Rack Design Tips
When it comes to designing your custom server rack, think about the space you have available and the equipment you need to house. Consider the size and type of servers, as well as any other components like hard drives, power supplies, and networking gear. You’ll also want to factor in cable management to keep things tidy and organized. A well-planned design will make all the difference in the end.
Think vertically to maximize your space, and don’t be afraid to get creative with your design. You can use online tools or software to help you visualize your rack before you start building. This will give you a better idea of how everything will fit together and help you avoid any potential issues down the line.
Home Network Storage Solutions
When it comes to home network storage solutions, your DIY server rack is the central hub. It’s where all your devices connect to access and share files, which is why it’s crucial to consider your storage needs. Think about the types of files you’ll be storing – are they mostly small documents or large media files? This will help you determine the right storage configuration for your setup.
By incorporating a robust storage system into your DIY server rack, you can ensure that your home network runs smoothly and efficiently. This might involve installing multiple hard drives or using a network-attached storage (NAS) device, allowing you to access your files from any device on your network.
5 Essential Tips for a Successful DIY Home Server Rack Build
- Plan Your Rack’s Power Supply and Cooling System Carefully to Avoid Overheating
- Choose the Right Materials for Your Rack’s Frame and Shelves to Ensure Durability
- Consider Cable Management Options to Keep Your Setup Organized and Easy to Maintain
- Research and Select the Perfect Server Hardware for Your Specific Needs and Budget
- Test and Troubleshoot Your Rack Thoroughly Before Adding It to Your Home Network to Prevent Future Headaches
Key Takeaways for Your DIY Home Server Rack Project
Design your server rack with flexibility in mind, considering future upgrades and expansions to ensure your homemade rack remains relevant and efficient
Choose the right materials and components that balance durability, aesthetics, and budget, whether you’re opting for a minimalist approach or a more elaborate setup
Integrate your DIY server rack seamlessly into your home network by selecting appropriate storage solutions and configuring them to meet your specific needs, from media servers to backup systems
The Heart of Home Servers
Building your own DIY home server rack isn’t just about saving space or money, it’s about taking control of your digital life and creating a system that’s as unique as you are.
A DIY Enthusiast
Conclusion
In conclusion, building a DIY home server rack can be a fun and rewarding project. By following the steps outlined in this guide, you can create a custom server rack that meets your specific needs and fits your space. From custom server rack design tips to home network storage solutions, we’ve covered it all. With a little patience and some basic tools, you can turn a cluttered mess into a sleek and organized command center.
As you finish your project and step back to admire your handiwork, remember that the true power of a DIY home server rack lies in its ability to streamline your digital life. By taking control of your data and devices, you can unlock new levels of productivity and freedom. So don’t be afraid to get creative, experiment with new ideas, and push the limits of what’s possible with your home server setup.
Frequently Asked Questions
What are the most important factors to consider when choosing the materials for my DIY home server rack?
When choosing materials, consider durability, ventilation, and ease of assembly. Think about the weight and size of your servers, and pick materials that can handle the load. I personally swear by sturdy steel frames and breathable mesh panels – they’ve been a game changer for my own setup.
How can I ensure proper ventilation and cooling in my homemade server rack to prevent overheating?
To keep things cool, make sure you’ve got some decent airflow in your rack – I like to leave about an inch of space between each server and add some fans to circulate the air, it’s a simple trick but it works like a charm to prevent overheating.
What are some creative ways to organize and manage cables in a DIY home server rack setup?
Cable management is a total game changer – I use zip ties, cable ties, and even old shoe laces to keep everything tidy. You can also repurpose old PVC pipes or use 3D printed cable organizers to keep your setup looking sleek.