I still remember the day I realized that taking professional product photos didn’t require a fancy camera or a degree in photography. I was trying to launch my own ecommerce store, and I was frustrated with the poor quality of my product images. A friend told me that I could use my smartphone to take amazing photos, and I was skeptical at first. But after some experimentation, I discovered that it’s actually possible to learn how to take professional product photos with your smartphone. The key is to understand the basics of photography and to use the right techniques to make your products shine.
In this article, I’ll share my personal experience and tips on how to take professional product photos with your smartphone. You’ll learn how to prepare your products, set up the perfect shot, and edit your photos to make them look stunning. I’ll cut through the hype and give you practical advice that you can use immediately. Whether you’re an entrepreneur, a blogger, or just someone who wants to take better photos, this guide is for you. You’ll discover that taking professional product photos is not rocket science, and that with a little practice, you can create images that will make your products stand out and attract more customers.
Table of Contents
Guide Overview: What You'll Need
Total Time: 1 hour 15 minutes
Estimated Cost: $20 – $100
Difficulty Level: Easy
Tools Required
- Smartphone with a good camera
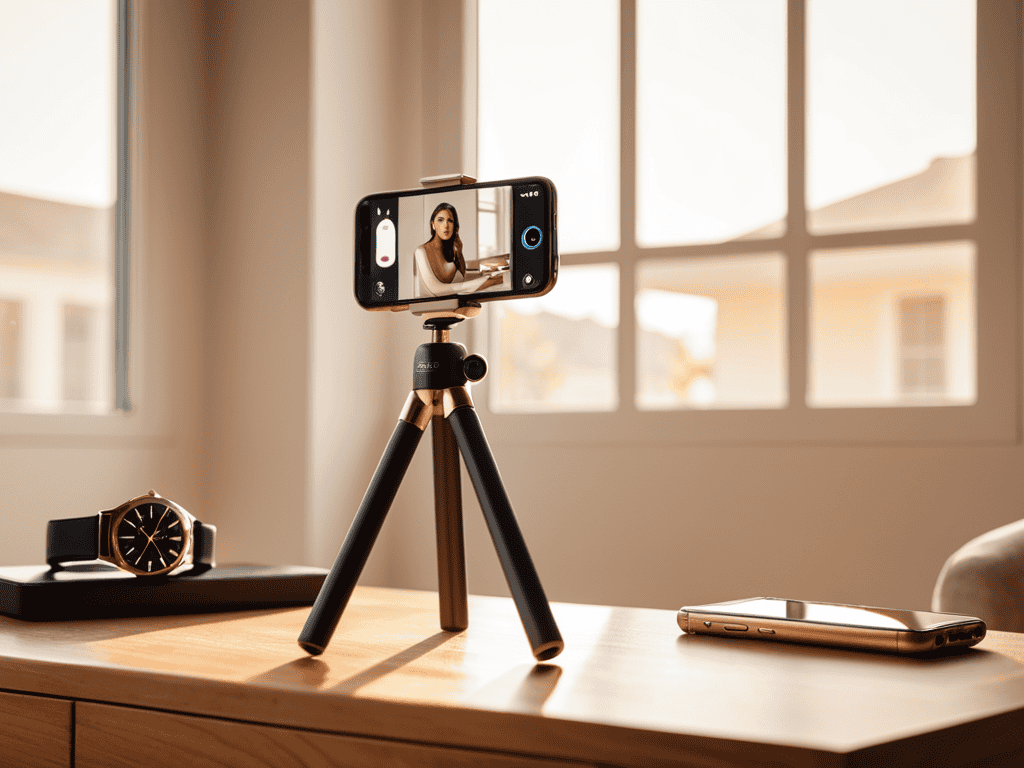
- Tripod for stabilizing the smartphone
- Remote shutter release or camera timer app
Supplies & Materials
- White background paper or a pop-up photo studio
- Softbox lights or natural light
- Reflectors such as foam boards or dedicated reflector panels
- Product turntable optional, for 360-degree views
Step-by-Step Instructions
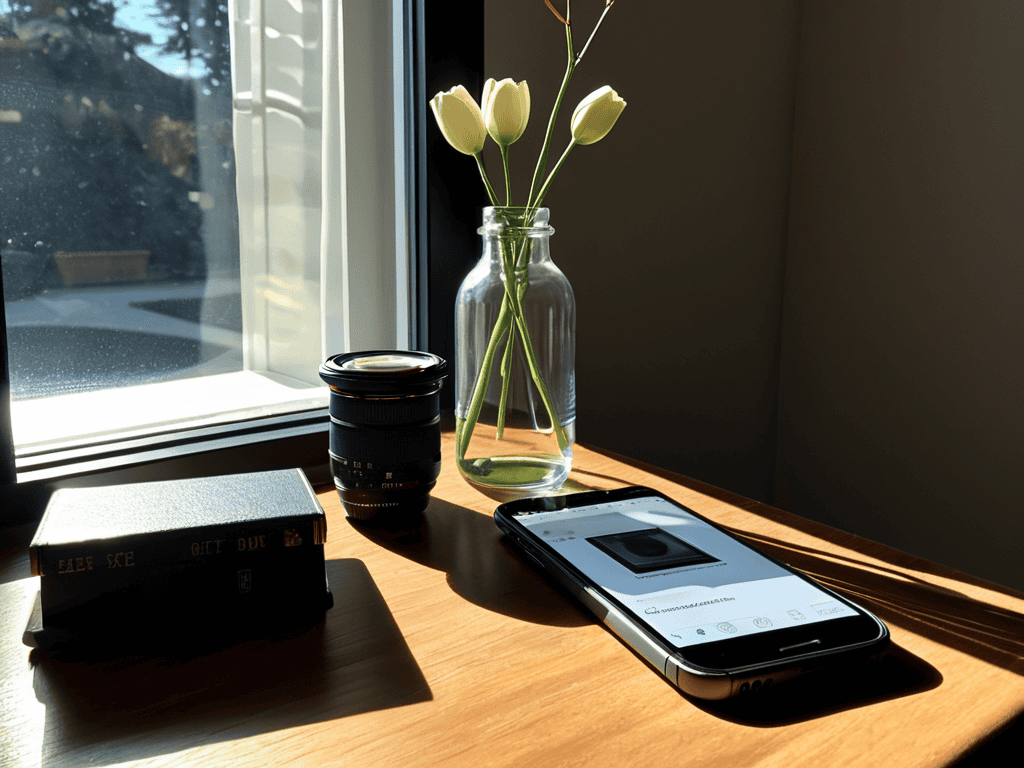
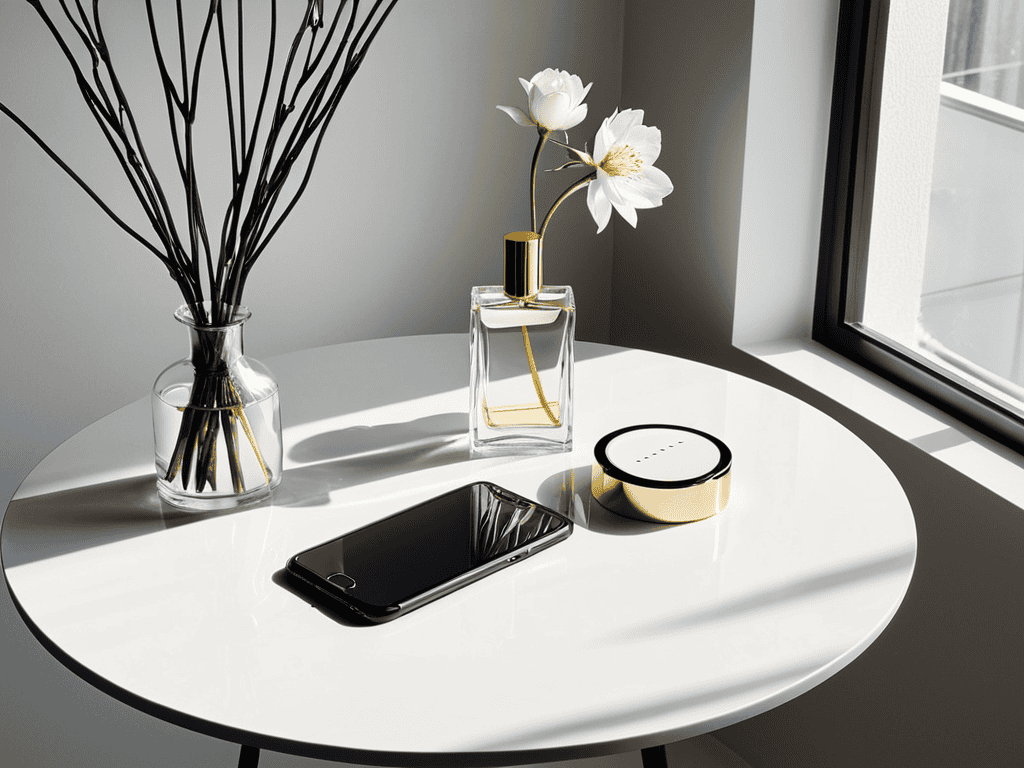
- 1. First, prepare your scene by choosing a clean and simple background that won’t distract from your product. Consider using a white or light-colored wall, a photography backdrop, or even a well-ironed bed sheet to create a neutral environment that makes your product stand out. Make sure the area is well-lit, either with natural light or by using a few softbox lights to minimize harsh shadows.
- 2. Next, understand your smartphone’s camera and its capabilities. Most modern smartphones have high-quality cameras with features like portrait mode, HDR, and adjustable exposure compensation. Familiarize yourself with these features to enhance your product photography. For instance, using portrait mode can help blur the background and make your product more prominent.
- 3. Now, set up your product in a way that looks appealing and showcases its best features. Experiment with different angles, orientations, and arrangements to find the most visually appealing composition. Consider the rule of thirds, where you place your product off-center, and play with negative space to create a more dynamic image. Don’t forget to style your product with complementary items if it makes sense for your brand or product type.
- 4. To achieve professional-looking results, it’s crucial to optimize your lighting. Natural light is always the best option, so if possible, take your photos near a window or outside during the golden hour for a soft, warm glow. If you’re shooting indoors, invest in a basic lighting kit or use DIY solutions like a softbox made from a cardboard box and a lamp. The goal is to have soft, even lighting that highlights your product’s details without creating harsh shadows.
- 5. With your scene set and product styled, it’s time to shoot from multiple angles. Don’t just stick to the standard front and back views; capture your product from the sides, top, and bottom if relevant. This will not only provide a comprehensive view of your product but also give you more images to work with for marketing materials, website listings, or social media posts. Remember to experiment with macro shots to highlight specific features or textures.
- 6. After taking your photos, edit them to perfection using a photo editing app like Lightroom, VSCO, or Snapseed. These apps offer a range of filters and adjustment tools that can help enhance the colors, contrast, and overall look of your images. Keep your edits subtle and natural-looking, as the goal is to make your product look its best without appearing overly processed or fake.
- 7. Finally, review and refine your photos to ensure they meet your quality standards. Check for any imperfections, such as dust, wrinkles, or other small issues that might have been overlooked during the shoot. If necessary, retake photos or make further adjustments in the editing phase. The final step is to export your images in the right format and size for their intended use, whether it’s for web, print, or social media platforms.
Snap Like a Pro
To take your product photos to the next level, consider experimenting with smartphone camera settings for product photography. Understanding how to adjust the exposure, contrast, and saturation can make a significant difference in the quality of your images. For instance, when using natural light for product photos, you may need to adjust the exposure compensation to avoid overexposed or underexposed areas.
When it comes to editing, choosing the best product photography editing software can be overwhelming. However, many smartphones come with built-in editing apps that can help you enhance your photos. Look for features like color correction, noise reduction, and sharpening to give your images a professional touch. Additionally, tips for photographing small products can be particularly useful, as they often require more attention to detail and creative composition.
To add an extra layer of professionalism to your photos, consider investing in a smartphone tripod for product photography. This will allow you to take sharper, more stable images, and experiment with different product photography composition techniques, such as the rule of thirds or symmetry. By combining these techniques with practice and patience, you’ll be well on your way to creating stunning product photos that showcase your products in the best possible light.
Editing Secrets for Product Photos
To take your product photos from great to amazing, it’s time to edit. You don’t need fancy software – your smartphone’s got you covered. Most devices come with a built-in editor, and there are plenty of free apps to choose from if you want more options. Keep it simple: adjust the brightness, contrast, and saturation to make your product pop. A little tweak can make a big difference.
Play around with different presets and filters to find the one that works best for your product. And don’t overdo it – you want your product to look natural and authentic. A light touch is key. With a few quick edits, you can add some serious polish to your photos and make them look like they were taken by a pro.
Mastering Smartphone Camera Settings
As you continue to hone your skills in taking professional product photos with your smartphone, it’s essential to stay inspired and learn from others. One great way to do this is by exploring online communities and resources that share tips, tricks, and behind-the-scenes stories of product photography. For instance, checking out websites like hobbyladies can be a great starting point, as they often feature beautifully styled product photos and offer insights into the creative process. By expanding your knowledge and learning from others, you’ll be able to refine your own techniques and develop a unique style that sets your product photos apart from the rest.
To truly snap like a pro, you need to understand and master your smartphone’s camera settings. This means getting familiar with the different modes and features that can enhance your product photos. For instance, using the HDR (High Dynamic Range) mode can add depth and detail to your images, while the portrait mode can help blur the background and make your product stand out.
Play around with the exposure compensation and white balance settings to find the perfect balance for your product. You can also experiment with the grid feature to help you compose your shots and ensure they’re perfectly aligned. By mastering these settings, you’ll be able to capture professional-looking product photos that showcase your items in the best possible light.
5 Essential Tips to Elevate Your Smartphone Product Photography
- Pay attention to lighting: natural light is your best friend, so try to take photos near a window or outside during the golden hour for a warm, professional glow
- Experiment with angles: don’t be afraid to get creative and try out unique perspectives, like shooting from directly above or at an angle, to add visual interest to your product photos
- Use a tripod or stabilizer: a steady camera is essential for crisp, clear photos, so consider investing in a tripod or stabilizer to help you achieve professional-looking results
- Play with textures and backgrounds: mix things up by incorporating different textures and backgrounds into your product photos, like wood, fabric, or marble, to add depth and visual appeal
- Keep it simple and focus on the product: avoid clutter and distractions, and make sure the product is the star of the show by using a clean and simple background, and experimenting with negative space to create a sleek, professional look
Key Takeaways to Snap Like a Pro
By leveraging your smartphone’s capabilities and mastering a few simple techniques, you can capture professional-grade product photos that elevate your brand and products
Understanding and adjusting your smartphone camera settings, such as exposure and focus, can significantly enhance the quality of your product photos and help you achieve the desired visual effect
Effective editing is crucial to making your product photos stand out, and using the right tools and techniques can help you refine your images, correct imperfections, and add a professional touch to your product photography
Capturing Perfection
The best product photos aren’t just about the gear – they’re about telling a story that stops the scroll and sparks a connection, and your smartphone is the perfect tool to start that conversation.
Emily J. Miller
Conclusion: Unleashing Your Inner Product Photographer
Taking professional product photos with your smartphone is all about mastering the basics and having fun with the process. We’ve covered the step-by-step guide to help you get started, and dived into the world of Snap Like a Pro, where you learned to master smartphone camera settings and uncover editing secrets for product photos. By applying these tips and practicing regularly, you’ll be well on your way to capturing stunning product photos that showcase your products in the best possible light.
As you continue on your product photography journey, remember that the key to success lies in experimentation and creativity. Don’t be afraid to try new things, make mistakes, and learn from them. With your smartphone and a willingness to learn, you have all the tools you need to take your product photos to the next level and make your brand stand out in a crowded market. So go ahead, get snapping, and watch your product photos transform into stunning visual stories that captivate and inspire your audience.
Frequently Asked Questions
What are the best smartphone camera settings for capturing high-quality product photos in low light?
For low-light product photos, try using the HDR feature and a tripod to stabilize your smartphone. Lower the exposure compensation and increase the ISO for brighter shots, but be cautious not to overdo it to avoid noise.
How can I effectively use editing apps to enhance and retouch my product photos without making them look unnatural?
To enhance your product photos without making them look unnatural, use editing apps like VSCO or Lightroom to make subtle adjustments. Boost the exposure and contrast slightly, and add a touch of saturation to make colors pop. Avoid over-filtering, and instead, aim for a natural-looking edit that complements the product’s original features.
What are some creative composition techniques I can use to make my product photos stand out and look more professional?
To add some flair, try experimenting with unique angles, like shooting from directly above or getting low for a dramatic effect. Play with negative space, and don’t be afraid to get creative with reflections or textures to add depth to your product photos.