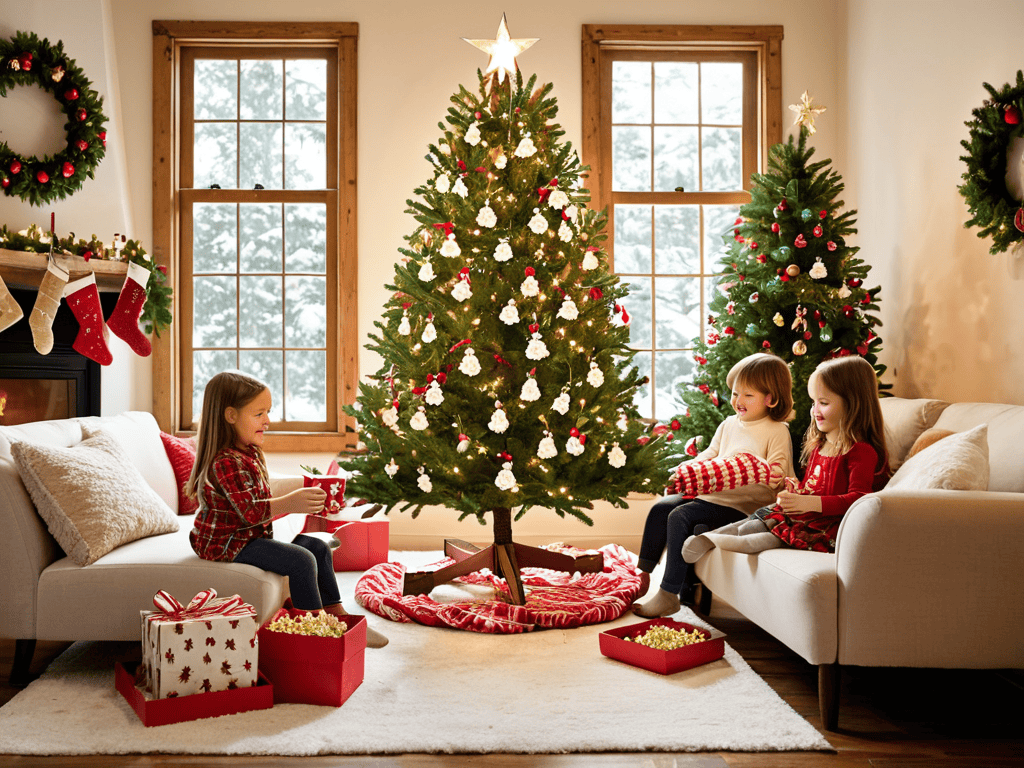
I still remember the first time my kids and I made DIY holiday decorations for kids together – it was a mess, but it was also incredibly fun. We were trying to make a simple paper snowflake, but it ended up looking more like a mangled bird’s nest. Despite the chaos, my kids were beaming with pride, and that’s when it hit me: the true magic of the holiday season isn’t about creating perfect decorations, but about making memories with our loved ones. As I looked around at the glitter-covered kitchen table and the giggling kids, I realized that homemade decorations are not just about saving money or being crafty, but about capturing the essence of the holiday spirit.
In this article, I’ll share my top tips and tricks for creating amazing DIY holiday decorations for kids that are both fun and easy to make. From paper bag lanterns to popcorn garlands, I’ll guide you through the process of making beautiful, unique decorations that your kids will love. I’ll also provide you with practical advice on how to involve your kids in the decorating process, making it a fun and educational experience for the whole family. By the end of this article, you’ll be equipped with the knowledge and inspiration to create your own one-of-a-kind holiday decorations that will make your home shine with personality and love.
Table of Contents
- Guide Overview: What You'll Need
- Step-by-Step Instructions
- Diy Holiday Decorations for Kids
- Sleigh the Holiday Season with These 5 Essential Tips for DIY Decorations with Kids
- Key Takeaways for a Fun and Creative Holiday Season
- Sparking Joy in Little Hands
- Wrapping Up the Holiday Cheer
- Frequently Asked Questions
Guide Overview: What You'll Need
Total Time: 1 hour 30 minutes
Estimated Cost: $10 – $30
Difficulty Level: Easy
Tools Required
- Scissors (sharp and dedicated to cutting paper)
- Glue Stick (washable)
- Tape Measure (for measuring spaces 6 inches or more)
- Pencil (for marking paper and other materials)
Supplies & Materials
- Construction Paper various colors
- Glitter various colors and textures
- Popcorn Strings for garland
- Ornament Kits for kids to assemble
- Cardboard for making custom shapes and decorations, cut into 8 inches by 10 inches sheets
Step-by-Step Instructions
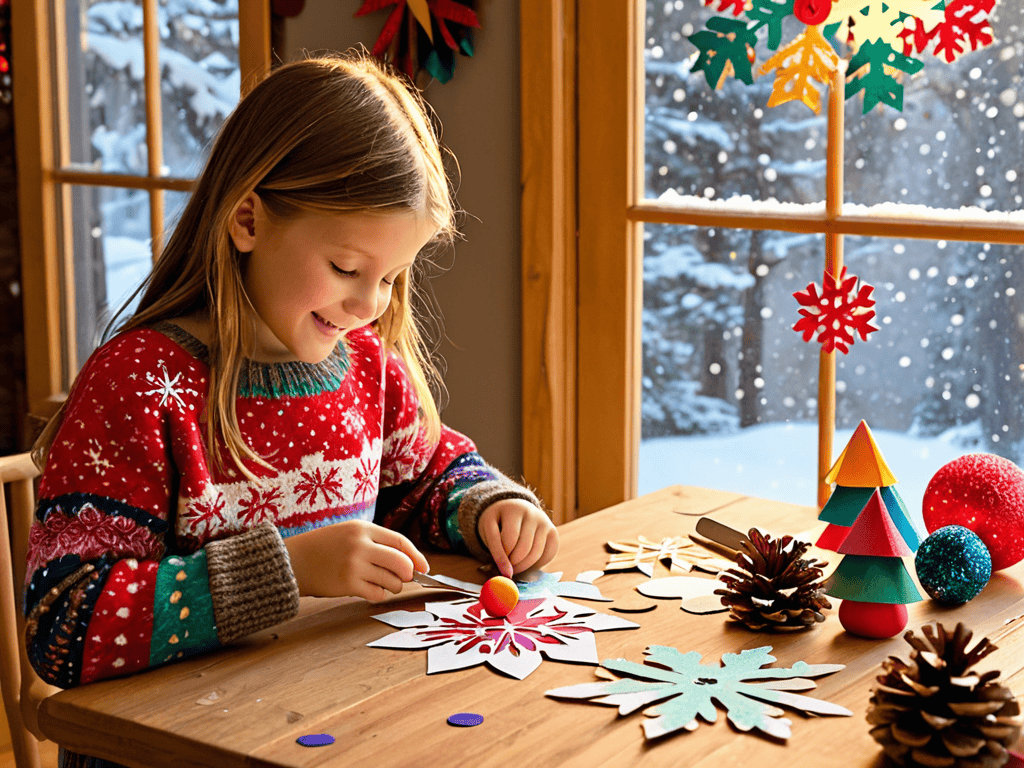
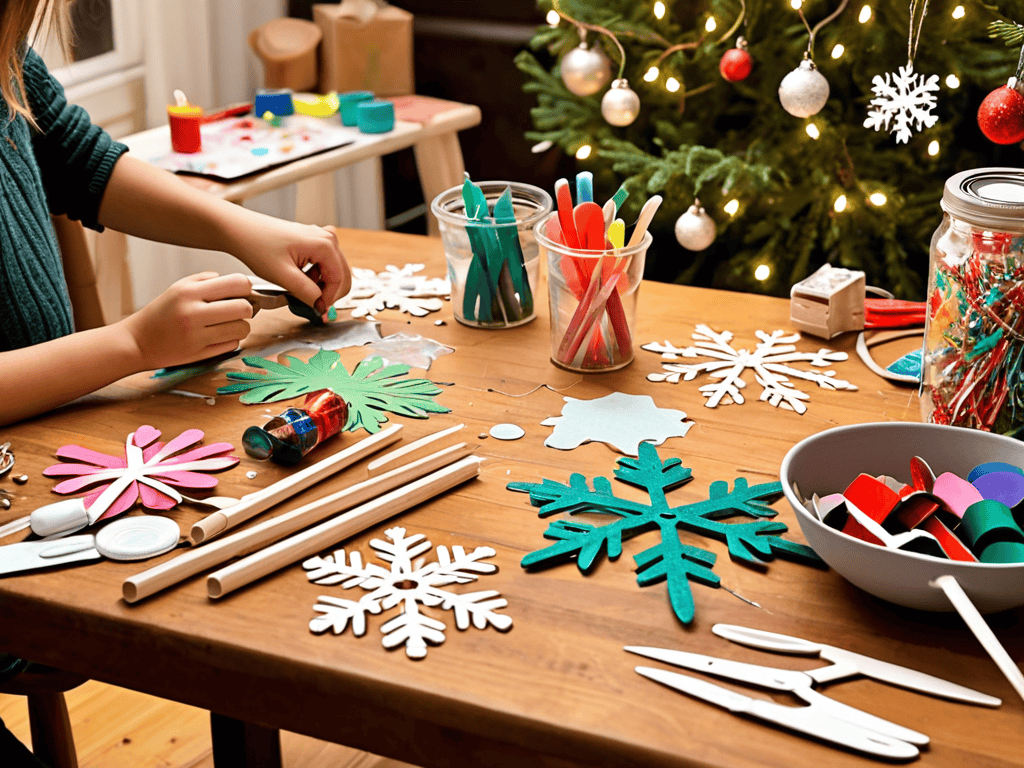
- 1. First, let’s get started with a classic favorite: the paper snowflake decoration. Begin by gathering a few simple materials like white paper, scissors, glue, and some string or thread. Show your kids how to fold the paper into a triangle or a square, and then let their creativity shine by cutting out patterns and shapes.
- 2. Next, help your little ones unfold their paper creations and admire their unique designs. This is a great opportunity to teach them about symmetry and how it can add to the beauty of their snowflakes. Once they’re happy with their designs, assist them in threading a piece of string through a small hole at the top of the snowflake, so it can be hung up in a window or from the ceiling.
- 3. Now, move on to a more textured project: the pinecone bird feeder. Start by collecting a few pinecones, some peanut butter, birdseed, and a piece of twine or fishing line. Demonstrate how to spread a layer of peanut butter all over the pinecone, and then roll it in a plate of birdseed until it’s fully covered.
- 4. After the pinecone is sufficiently covered in birdseed, help your kids attach a piece of twine or fishing line to the top of the pinecone, so it can be hung from a tree. This is a great chance to talk to them about wildlife conservation and the importance of feeding birds during the cold winter months. Once it’s hung, stand back and enjoy the birds that come to visit.
- 5. For a bright and colorful decoration, try making a handprint wreath with your kids. You’ll need a few materials like construction paper, glue, scissors, and a wire or foam wreath frame. Show your kids how to cut out their handprints from the construction paper, and then help them glue the handprints onto the wreath frame in a circular pattern.
- 6. As you work on the wreath, encourage your kids to get creative with patterns and colors. They can use glue, markers, or even stickers to add some extra flair to their handprints. Once the wreath is complete, hang it up on a door or wall, and admire your kids’ hard work and creativity.
- 7. Finally, end your DIY session with a fun and messy project: the salt dough ornament. Mix together flour, salt, and water to create a dough-like consistency, and then let your kids shape and mold the dough into their desired ornaments. Use a toothpick or a small stick to create a hole at the top of each ornament, so it can be hung on the tree.
- 8. Once the ornaments are shaped and have a hole for hanging, help your kids add some decorative touches like paint, glitter, or stickers. This is a great opportunity to talk to them about the importance of patience and waiting, as the ornaments will need to dry completely before they can be painted or decorated.
Diy Holiday Decorations for Kids
When it comes to kid friendly christmas crafts, it’s all about making the experience fun and engaging for your little ones. Consider using recycled material holiday decorations to teach your kids about the importance of sustainability and creativity. You can collect various materials like old jars, bottles, and cardboard boxes, and turn them into unique decorations.
To make the process even more enjoyable, try incorporating handprint holiday art ideas into your decorations. This can be a great way to capture your child’s tiny handprint and create a personalized ornament. You can use paint, glue, and other craft supplies to make it a fun and messy activity. Just remember to keep it simple and let your kids’ imagination run wild.
As you work on your decorations, don’t forget to make it a simple holiday decor that your kids can be proud of. Encourage them to take ownership of their creations and display them in their kids rooms. This will not only add a personal touch to their space but also give them a sense of accomplishment and pride in their work.
Kid Friendly Christmas Crafts Ideas
As you’re getting creative with your kids and making those one-of-a-kind holiday decorations, you might want to take a break and explore some other fun activities to enjoy together as a family. If you’re looking for some inspiration, I recently stumbled upon a great resource that offers a wide range of kid-friendly ideas for the holiday season, and it’s definitely worth checking out – you can find it by visiting sexwien, which has a treasure trove of information on various topics, including some really cool and unusual holiday-themed content that might just spark some new ideas for your DIY projects.
Let’s dive into some fantastic kid-friendly Christmas crafts ideas that are perfect for the little ones. From handmade ornaments to paper snowflakes, there are countless ways to get creative and have fun with your kids. You can make a gingerbread house, a Christmas tree out of popsicle sticks, or even a wreath using recycled materials. These activities not only add a personal touch to your holiday decor but also create wonderful memories with your family.
These Christmas crafts are easy to make and require minimal supervision, making them ideal for kids of all ages. With a little imagination and some basic materials, you can create a winter wonderland that’s all your own. So why not get started today and make this holiday season one to remember?
Recycled Material Holiday Decor Fun
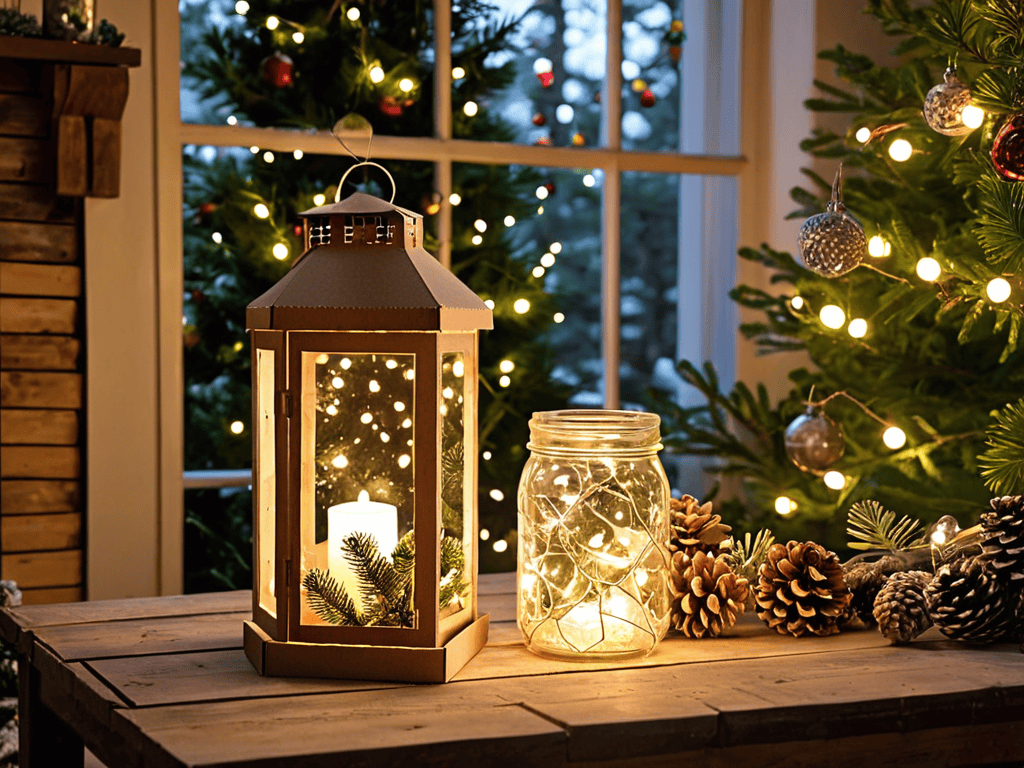
Let’s think outside the box and get creative with recycled materials. Old jars, cardboard tubes, and newspaper can be transformed into unique holiday decorations. For a fun and eco-friendly activity, collect various recyclable items and let the kids’ imagination run wild. They can turn an old jar into a beautiful lantern or create a festive garland using strips of newspaper.
With a little glue, scissors, and paint, recycled materials can become stunning holiday decor. Encourage the kids to experiment with different textures and colors, making each piece a one-of-a-kind masterpiece. This activity not only fosters creativity but also teaches the importance of reducing waste and reusing materials.
Sleigh the Holiday Season with These 5 Essential Tips for DIY Decorations with Kids
- Get creative with recycled materials like old jars, cardboard, and fabric scraps to make one-of-a-kind decorations
- Involve your kids in the planning process and let them take the lead on designing and making their own decorations
- Set up a dedicated craft station with all the necessary supplies, including glue, scissors, and paint, to make the process smooth and fun
- Make it a special bonding experience by playing holiday music, sipping hot cocoa, and enjoying quality time with your little ones
- Display your kids’ handmade decorations proudly, whether it’s on the mantel, windows, or Christmas tree, to make them feel proud of their creations
Key Takeaways for a Fun and Creative Holiday Season
With a little creativity, you can turn your home into a winter wonderland with DIY holiday decorations that are both fun and easy to make with kids
Recycled materials can become amazing holiday decorations, teaching kids about sustainability and the value of creative reuse
Making DIY holiday decorations with kids is about more than just crafting – it’s about creating lasting memories and traditions that will be cherished for years to come
Sparking Joy in Little Hands
As we craft and create together, we’re not just making DIY holiday decorations, we’re weaving a tapestry of memories that will warm our hearts for years to come.
Emily Wilson
Wrapping Up the Holiday Cheer
As we’ve explored the world of DIY holiday decorations for kids, it’s clear that getting creative with your little ones can be a truly magical experience. From kid-friendly Christmas crafts ideas to recycled material holiday decor fun, there are countless ways to make this season one to remember. By following the step-by-step guide and tips outlined in this article, you’ll be well on your way to creating a winter wonderland that’s all your own. Whether you’re a crafty veteran or a DIY novice, the most important thing is to have fun and enjoy the quality time with your family.
As you finish up your holiday decorating and look around at the fruits of your labor, remember that it’s the little moments that make this time of year so special. The laughter, the excitement, and the sense of accomplishment that comes with creating something together as a family – these are the things that will stay with you long after the decorations come down. So go ahead, get creative, and make this holiday season one that you and your kids will treasure for years to come. With a little imagination and some holiday cheer, you can turn your home into a winter wonderland that’s full of joy, love, and all the magic of the season.
Frequently Asked Questions
What are some easy and safe materials for kids to use when making DIY holiday decorations?
For a fun and stress-free crafting experience, stick to easy and safe materials like construction paper, glue, scissors, and paint. You can also reuse household items like egg cartons, toilet paper rolls, and fabric scraps to get creative and teach the kids about recycling.
How can I involve my kids in the DIY decoration process without making a mess?
Involve your mini-mes in the fun without stressing about the mess by setting up a designated craft zone, covering your work surface, and using washable supplies. Encourage them to get creative, and be prepared for a few giggles and potential spills – it’s all part of the DIY magic!
What are some creative ways to display our homemade holiday decorations at home?
Now that we’ve crafted our masterpieces, let’s show them off! Get creative with display spots like mantels, windowsills, or even a dedicated holiday decor wall. You can also repurpose items like vintage ladders, crates, or twine to add a rustic touch and make your homemade decorations truly shine.