I still remember the day I decided to take matters into my own hands and ditch the bland, cookie-cutter decor that came with my apartment. I was on a mission to create a space that truly reflected my personality, and that’s when I discovered the magic of DIY wall decor. It’s amazing how a few simple, handmade touches can completely transform a room from boring to brilliant. I used to think that decorating my walls would require a hefty budget or a degree in design, but the truth is, it’s easier than you think to add some serious style to your space without breaking the bank.
In this article, I’ll be sharing my favorite tips and tricks for creating stunning DIY wall decor that will make your friends green with envy. From easy-to-make art pieces to budget-friendly decor hacks, I’ll give you the lowdown on how to turn your bare walls into a masterpiece. You’ll learn how to unleash your inner artist and create a space that’s truly one-of-a-kind. Whether you’re a seasoned DIY pro or a total beginner, this guide will walk you through the process of creating beautiful, unique wall decor that reflects your personality and style. So, let’s get started and turn those bland walls into a work of art!
Table of Contents
Guide Overview: What You'll Need
Total Time: 1 hour 45 minutes
Estimated Cost: $20 – $40
As you continue to unleash your creativity with DIY wall decor, you might find yourself wanting to explore more unique and eclectic pieces to add to your collection. For those looking to take their decor to the next level, I highly recommend checking out online marketplaces like nzgirls for one-of-a-kind, handmade items that can add a touch of personality to your space. By mixing and matching different styles and textures, you can create a truly distinctive look that reflects your individuality and makes your home stand out from the rest.
Difficulty Level: Easy
Tools Required
- Hammer
- Tape Measure
- Level
- Pencil
- Nail Gun (optional)
- Drill (optional)
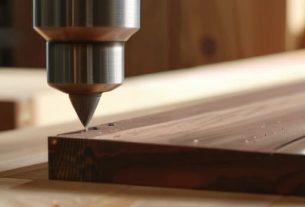
- Saw (for cutting 2-in x 4-in lumber)
- Sandpaper (for smoothing out wood surfaces)
- Paintbrush (for applying paint or stain)
Supplies & Materials
- Picture Frame
- Shelf Brackets
- 2-in x 4-in Lumber (for building shelves)
- Wood Glue
- Nails (1 inch or 2 inches long)
- Screws (for hanging heavy objects)
- Wall Anchors
- Paint or Stain (optional)
- Decorative Items (e.g., photos, artwork, etc.)
Step-by-Step Instructions
- 1. First, gather your materials, which should include a few basic tools like a hammer, nails, a level, and a pencil. You’ll also need the decorative items you’ve chosen for your wall, such as frames, paintings, or mirrors. Make sure you have a clear idea of what you want to achieve with your DIY wall decor before you start.
- 2. Next, plan your layout by sketching out a rough design of how you want your wall to look. Consider the size and shape of each item, as well as the space between them. You can use a piece of graph paper to help you get the proportions right, or even create a digital mockup on your computer or phone.
- 3. Now it’s time to start hanging your items. Begin with the centerpiece of your design, whether that’s a large piece of art or a decorative mirror. Use your level to make sure it’s straight, and your pencil to mark the spot where you’ll be hammering in the nail. Take your time and double-check your measurements to avoid making mistakes.
- 4. Once you have your centerpiece in place, you can start adding the surrounding items. Work your way outwards from the center, using your sketch as a guide. Remember to leave some breathing room between each item to avoid cluttering the wall. You want your DIY wall decor to look intentional and curated, not chaotic.
- 5. As you continue to hang your items, step back regularly to evaluate your progress. This will help you catch any mistakes or imbalances in your design before it’s too late. Don’t be afraid to make adjustments as you go – it’s all part of the creative process.
- 6. With your main items in place, you can start adding some finishing touches. This might include hanging smaller decorative items, like shelves or plants, or adding some texture with fabric or rugs. Get creative and have fun with this step – it’s where you can really make your DIY wall decor shine.
- 7. Finally, take a step back and admire your handiwork. Make any final adjustments as needed, and take pride in the fact that you created this unique and beautiful space yourself. With these steps, you should be able to create a stunning DIY wall decor that reflects your personality and style.
Elevate Diy Wall Decor
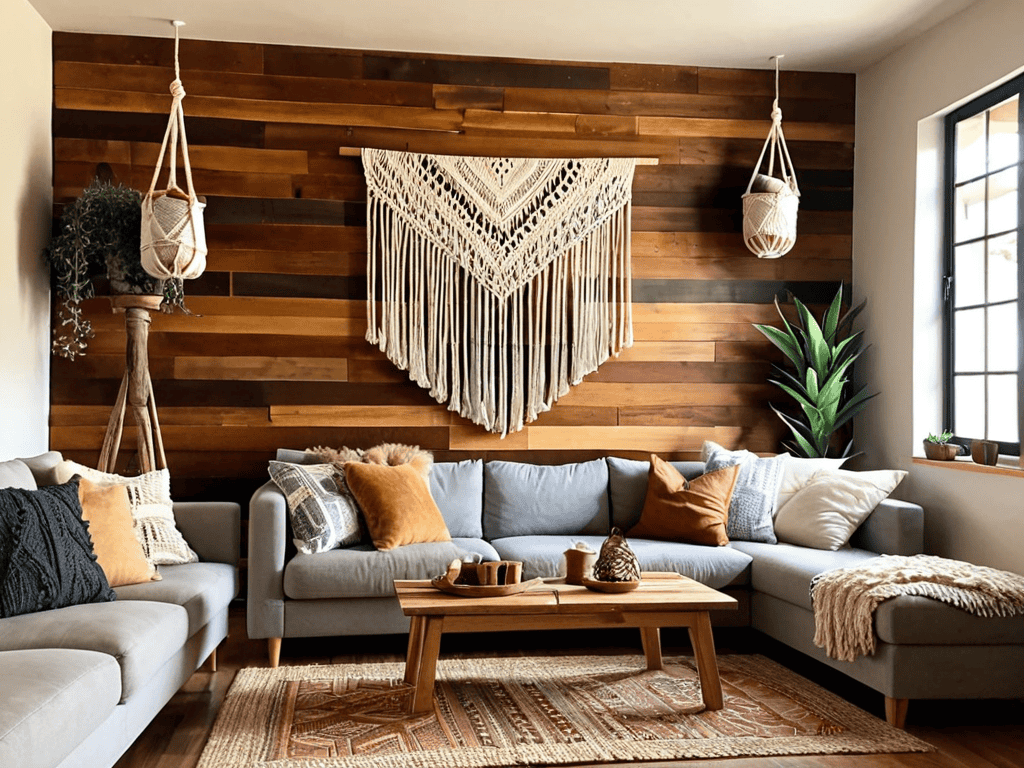
To take your space to the next level, consider incorporating reclaimed wood wall art into your design. This unique element can add a touch of warmth and character to any room. By combining reclaimed wood with other materials, such as metal or glass, you can create a truly one-of-a-kind piece that reflects your personal style. For a more intricate look, try pairing reclaimed wood with a macrame wall hanging tutorial to add some texture and visual interest.
When it comes to adding some personality to your walls without breaking the bank, budget friendly wall decor ideas are the way to go. One fun and easy option is to create a diy string wall decor piece using a few simple materials like string, nails, and a wooden board. This type of decoration is not only easy on the wallet, but it’s also a great way to add some visual interest to a blank wall.
For a more eclectic look, try incorporating upcycled material wall decoration into your design. This can be as simple as using old jars or bottles to create a unique piece of art, or as complex as transforming an old door into a one-of-a-kind geometric wall pattern design. By thinking outside the box and getting creative with your materials, you can create a space that truly reflects your personality and style.
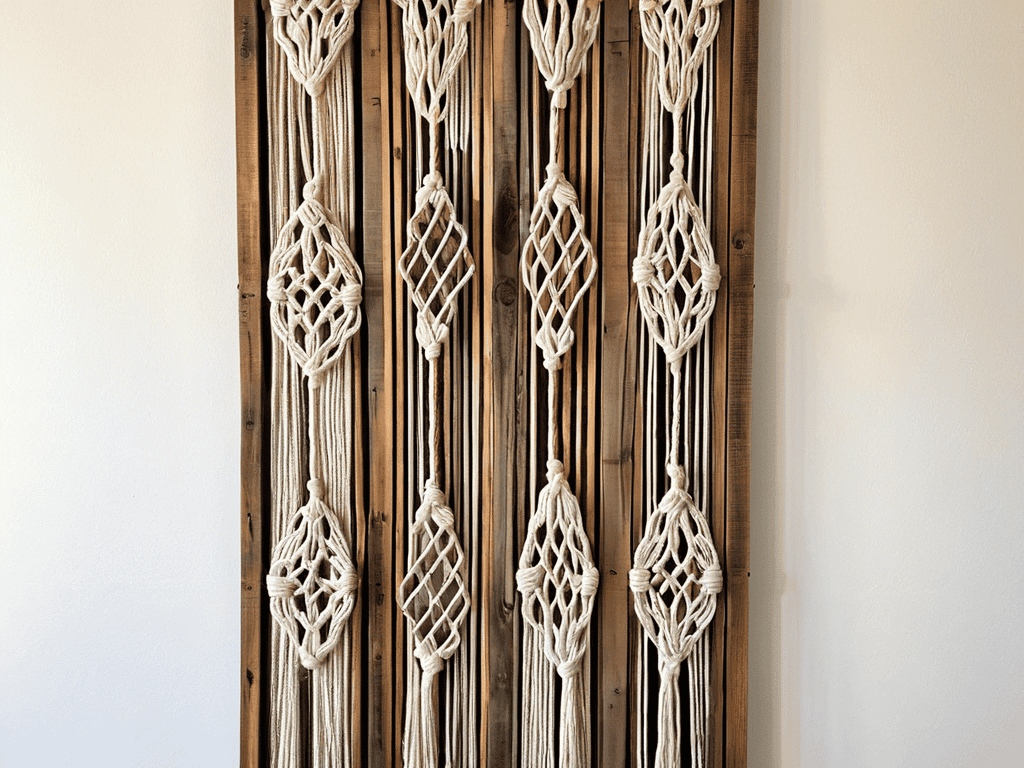
Macrame Tutorial for Beginners
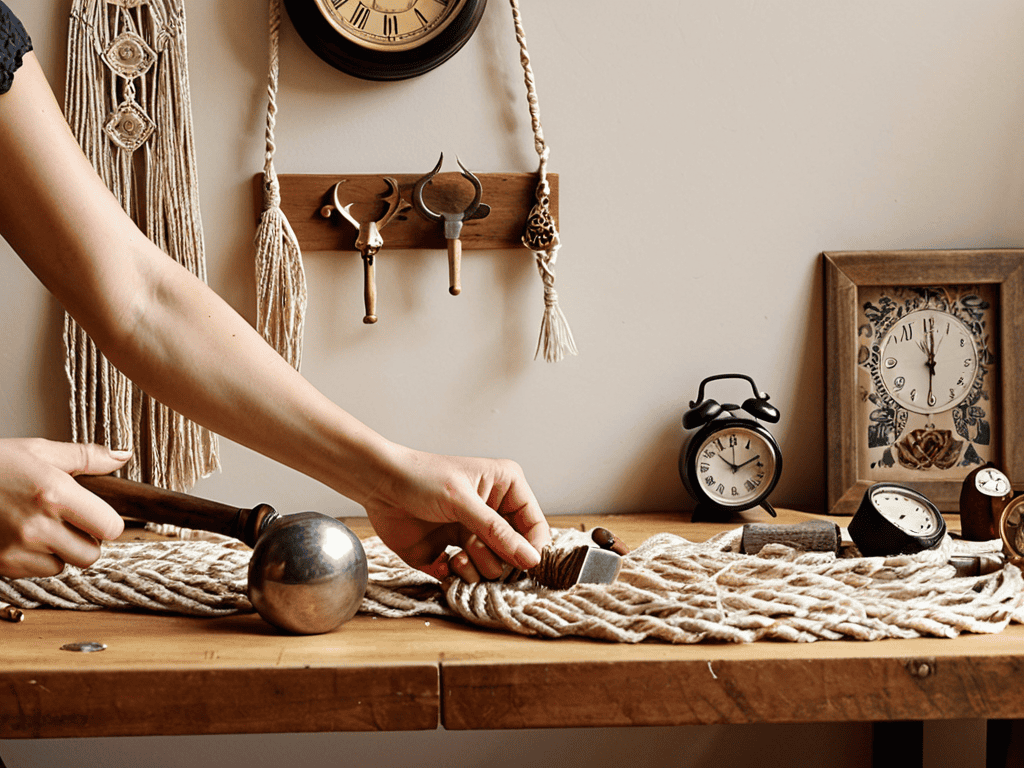
To add a bohemian touch to your space, consider trying your hand at macrame. This intricate textile produced using knotting techniques can elevate your DIY wall decor to the next level. As a beginner, start with simple projects like a macrame plant hanger or wall hanging, using cotton rope, wooden dowels, and a few basic knots.
With a little patience and practice, you’ll be creating stunning pieces that add a touch of handmade charm to your walls. Begin with a simple knot, like the lark’s head or wrap knot, and gradually move on to more complex patterns, experimenting with different cord materials and colors to match your unique style.
Reclaimed Wood Wall Art Hacks
Reclaimed wood adds a touch of warmth and character to any room. To create unique wall art, consider combining reclaimed wood planks in different shapes and sizes to form a geometric pattern or a statement piece. You can also add a personal touch by incorporating meaningful objects, like old doors or windows, into your design. This will not only elevate your DIY wall decor but also tell a story.
For a more rustic look, try distressing the wood or leaving it unfinished to bring out its natural texture and color. You can also experiment with different orientations and arrangements to create a one-of-a-kind piece that reflects your personality and style.
Hang It Like You Mean It: 5 Essential DIY Wall Decor Tips
- Start with a statement piece: Choose a show-stopping item, like a vintage mirror or a colorful artwork, to anchor your wall decor and build your design around it
- Play with texture: Mix different materials, such as wood, metal, and fabric, to add depth and visual interest to your walls
- Don’t forget about scale: Ensure your decor is proportional to the size of your wall and furniture to avoid a cluttered or overwhelming look
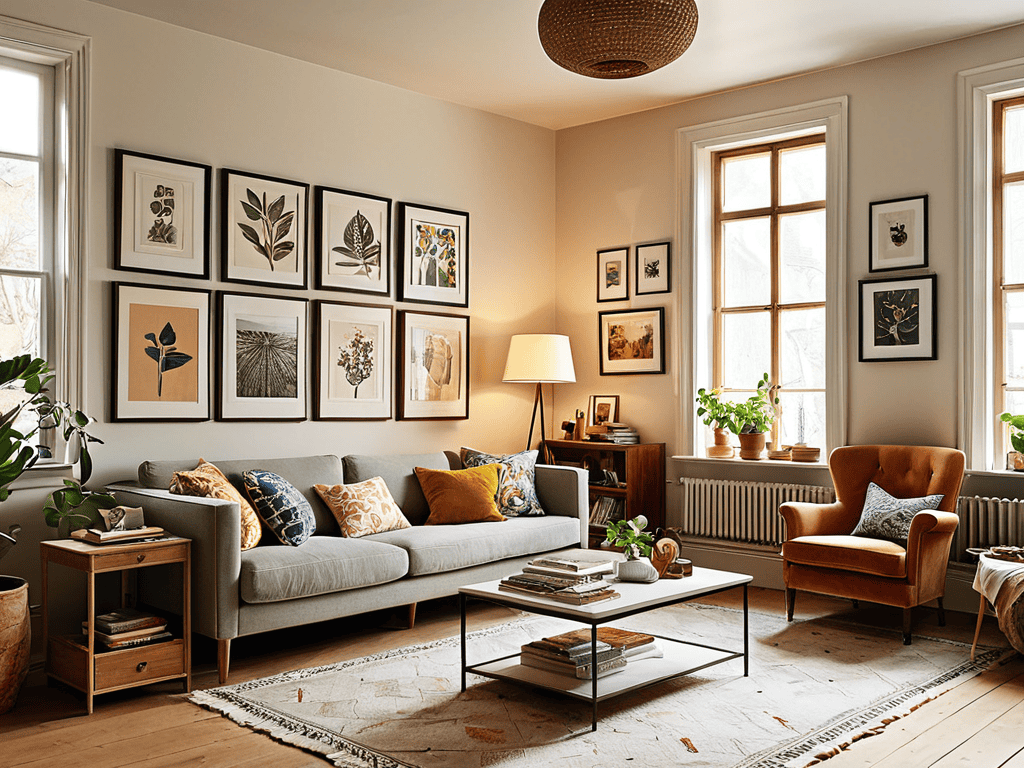
- Create a gallery wall: Gather a collection of frames in various shapes, sizes, and styles, and arrange them in a unique and eclectic pattern to add personality to your space
- Lighting is everything: Use string lights, sconces, or LED strips to highlight your wall decor and create a warm, inviting ambiance that draws the eye to your favorite pieces
Key Takeaways for a Beautifully Decorated Home
I’ve learned that with a little creativity, anyone can turn their bare walls into stunning works of art using DIY wall decor techniques
Reclaimed wood and macrame are two of my favorite materials to work with when it comes to adding a personal touch to my home decor
Whether you’re a seasoned DIY enthusiast or a beginner, the right tools and a bit of patience can help you unleash your inner artist and create unique, personality-filled wall decor that reflects your style
A Labor of Love
DIY wall decor is more than just a way to fill a space – it’s a reflection of our personalities, a declaration of our style, and a celebration of our individuality.
Ava Morales
Unleashing Your Creative Side
As we’ve explored the world of DIY wall decor, it’s clear that unleashing your creativity is key to transforming your space. From the initial steps of planning and preparation to the final touches of elevation, we’ve covered a range of techniques to help you achieve your unique vision. The reclaimed wood wall art hacks and macrame tutorial for beginners have provided a solid foundation for those looking to add a personal touch to their decor. By embracing these DIY approaches, you’ve not only saved money but also infused your home with a character that reflects your personality.
With your DIY wall decor project complete, remember that it’s all about experimentation and having fun. Don’t be afraid to try new things, make mistakes, and learn from them. As you step back to admire your handiwork, you’ll realize that the true value of DIY wall decor lies not just in the end result, but in the journey itself – the process of creation, the sense of accomplishment, and the joy of making your space truly yours. So, keep exploring, keep creating, and most importantly, keep enjoying the journey of transforming your home into a reflection of your unique spirit.
Frequently Asked Questions
What are some affordable and easy-to-find materials for DIY wall decor?
I’m all about repurposing stuff I already have, like old maps, book pages, or fabric scraps. You can also find awesome materials at thrift stores or garage sales, like vintage frames or wooden crates. And let’s not forget about nature – leaves, branches, and rocks can add a beautiful touch to your DIY wall decor!
How can I ensure my DIY wall decor project is level and evenly spaced?
To ensure your DIY wall decor is level and evenly spaced, use a trusty level tool and a measuring tape. I like to double-check my measurements and marks with a pencil before hammering in any nails – it saves me from wonky hangings and saves the wall from unnecessary holes.
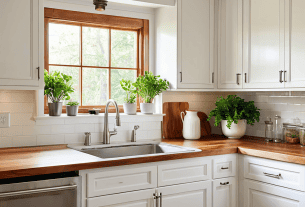
What are some popular DIY wall decor trends for small or rental spaces?
For small or rental spaces, I’m loving minimalist shelves, woven wall hangings, and geometric mirror decals – they add visual interest without taking up too much space or damaging the walls. Plus, they’re easy to remove when you move out!