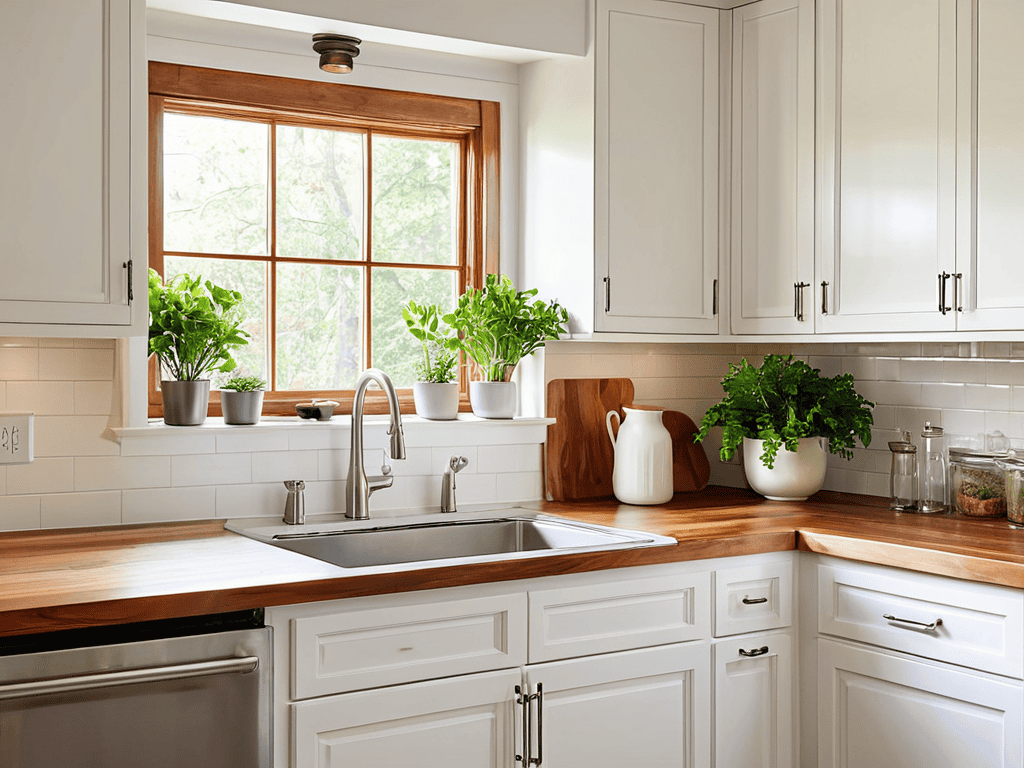
I still remember the day I decided to give my kitchen a makeover by painting the cabinets – it was a game-changer. I had been putting it off for months, intimidated by the thought of tackling such a big project, but with the help of a guide to painting your kitchen cabinets for a fresh look, I was able to achieve a brand new vibe in my kitchen. The process was not as daunting as I thought it would be, and the end result was well worth the effort.
In this article, I’ll share my personal experience and provide you with honest, no-hype advice on how to paint your kitchen cabinets for a fresh look. You’ll learn how to prepare your cabinets, choose the right paint, and apply it like a pro. I’ll also cover some common mistakes to avoid and provide tips for achieving a professional-looking finish. By the end of this guide, you’ll be equipped with the knowledge and confidence to give your kitchen the makeover it deserves, and fall in love with your space all over again.
Table of Contents
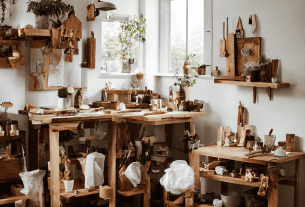
Guide Overview: What You'll Need
As you’re working on giving your kitchen a brand new vibe with freshly painted cabinets, don’t forget to think about the overall aesthetic you want to achieve. Consider the style and atmosphere you’re aiming for, and think about how the colors and finishes you choose will impact the mood of the space. If you’re looking for some inspiration or tips on how to create a cohesive look, you might want to check out some online resources, such as a website that offers advice on home decor and design, or even a local community forum like sextreffen stuttgart, where you can connect with others who are working on similar projects and get a sense of what’s working for them.
Total Time: 4 hours 30 minutes
Estimated Cost: $50 – $100
Difficulty Level: Intermediate
Tools Required
- Sandpaper (various grits)
- Paintbrushes (1 inch, 2 inch, and 4 inch wide)
- Roller Extension Pole (for large areas)
- Drop Cloths (to protect floors and countertops)
- Utility Knife (for removing old hardware)
- Drill (for removing and reinstalling hardware)
- Screwdriver (for removing and reinstalling hardware)
Supplies & Materials
- Primer (specifically designed for cabinets)
- Paint (choose your desired color and finish)
- Cabinet Paint Remover (optional, for removing old finish)
- Wood Filler (for filling any holes or gaps)
- New Hardware (if replacing old knobs or handles)
- Clear Coat (optional, for added protection and shine)
Step-by-Step Instructions
- 1. First, remove all hardware from your kitchen cabinets, including knobs, handles, and hinges. This will give you a clean slate to work with and prevent any paint from getting stuck in the small crevices. Take a moment to set aside the hardware in a safe place where it won’t get lost.
- 2. Next, clean the cabinets thoroughly to remove any grease, grime, or food residue that may be lingering on the surface. Use a mixture of soap and water, and scrub the cabinets with a soft-bristled brush to get into all the nooks and crannies. This will ensure a smooth paint application and help the paint adhere to the surface.
- 3. Now it’s time to sand the cabinets to create a rough surface for the paint to grip. Use a fine-grit sandpaper to sand the entire surface of the cabinets, paying special attention to any areas with a glossy finish. This will help the paint bond to the surface and prevent it from peeling off over time.
- 4. After sanding, use a tack cloth to wipe down the cabinets and remove any dust or debris. This will give you a clean surface to paint and prevent any imperfections in the finish. Take a moment to inspect the cabinets for any remaining dust or dirt, and use a vacuum cleaner or damp cloth to remove it.
- 5. With the cabinets prepared, it’s time to apply a primer. Use a high-quality primer specifically designed for cabinets, and apply it according to the manufacturer’s instructions. This will help create a uniform base coat and ensure the paint adheres evenly to the surface.
- 6. Once the primer is dry, it’s time to apply the paint. Use a high-quality paint specifically designed for cabinets, and apply it in thin, even coats. Allow each coat to dry completely before applying the next one, and use a paintbrush or roller to achieve a smooth, even finish.
- 7. After the final coat of paint is dry, it’s time to reinstall the hardware. Take the knobs, handles, and hinges you removed earlier and screw them back into place. Make sure they are securely fastened and evenly spaced to create a uniform look. Take a step back and admire your handiwork – your kitchen cabinets should now have a fresh new look that will make your kitchen feel like new again.
A Guide to Painting Your Kitchen Cabinets
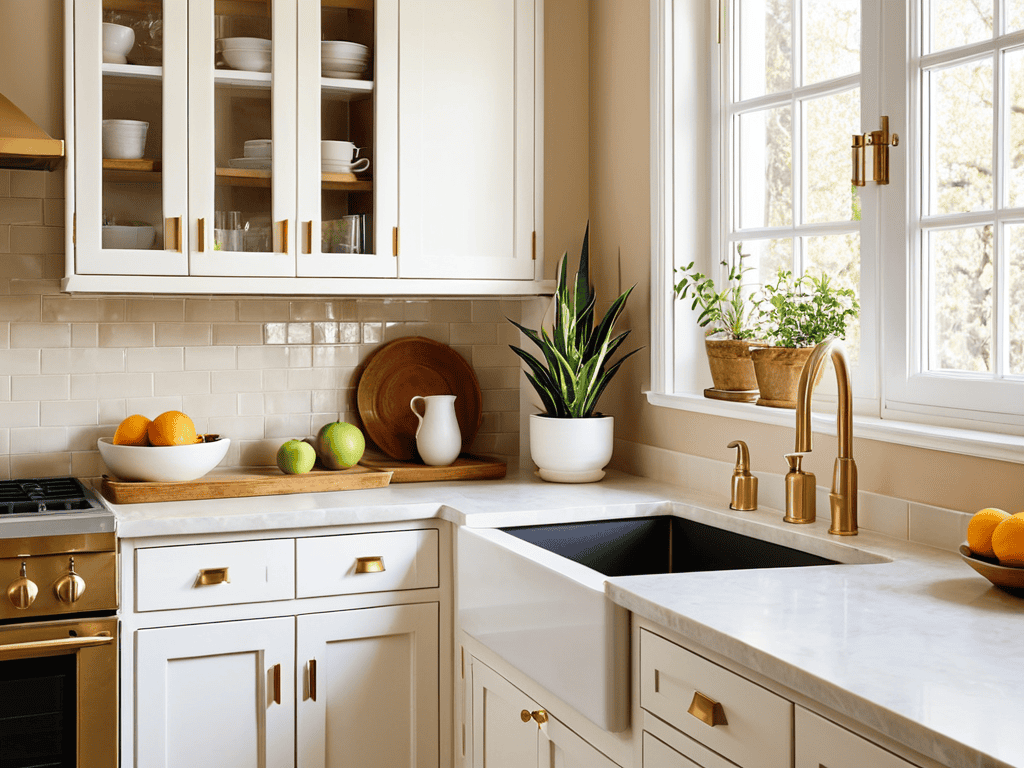
When it comes to a successful kitchen cabinet makeover, it’s all about the details. Choosing the right cabinet hardware can make or break the overall aesthetic of your kitchen. Consider cabinet painting techniques for beginners that focus on simplicity and elegance, allowing the beauty of your cabinets to shine through. By selecting hardware that complements your cabinet color, you can create a cohesive look that ties the entire room together.
To ensure a professional-looking finish, it’s essential to be aware of common cabinet painting mistakes to avoid. One of the most critical errors is not properly preparing the surface before painting. This can lead to a uneven finish and a host of other problems. By taking the time to clean and sand your cabinets, you can create a smooth surface for painting and achieve a beautiful, long-lasting finish.
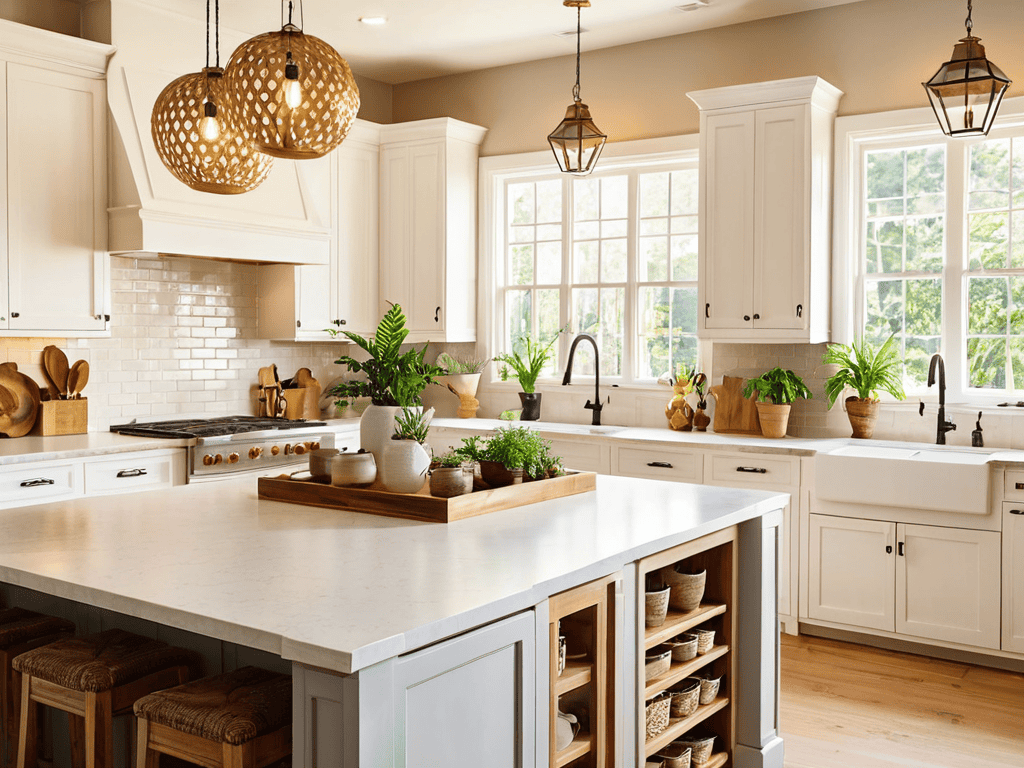
For a truly unique look, consider exploring current kitchen cabinet color trends. From bold and bright hues to soft, pastel shades, there’s a wide range of colors to choose from. By selecting a color that reflects your personal style, you can add a touch of personality to your kitchen and make it truly feel like home. With a little patience and practice, you can achieve a stunning diy cabinet refinishing project that will leave your friends and family in awe.
Cabinet Revival Fresh Coat Magic
As you apply that fresh coat of paint, you’ll start to notice the transformation taking place. The old, worn-out look of your cabinets will give way to a vibrant, revitalized appearance that elevates the entire kitchen. It’s amazing how a simple coat of paint can breathe new life into a space. With each brushstroke, you’re not just covering up imperfections, you’re creating a whole new atmosphere.
The magic happens when the paint dries, and your cabinets are reborn with a fresh, updated look that reflects your personal style. Whether you opt for a bold, bright color or a soft, pastel hue, the result is a kitchen that feels revitalized and renewed.
Diy Delights Beginner Painting Tips
When diving into the world of DIY cabinet painting, it’s essential to start with the basics. For beginners, it’s all about building confidence with each brushstroke. Begin by preparing your space, covering floors and countertops to prevent any accidental paint spills. Next, focus on proper brush technique, using smooth, even strokes to achieve a professional-looking finish. Remember, practice makes perfect, so don’t be too hard on yourself if it takes a few tries to get the hang of it.
As you become more comfortable, experiment with different painting styles and techniques to add a personal touch to your cabinets. Consider adding a pop of color or a decorative finish to give your kitchen a unique flair. With patience and practice, you’ll be amazed at how a fresh coat of paint can transform your kitchen into a warm and inviting space that reflects your personal style.
Painting Perfection: 5 Essential Tips for a Stunning Cabinet Makeover
- Prepare for Perfection: Clean and degrease your cabinets before painting to ensure a smooth, even finish
- Choose Your Champion: Select a high-quality paint specifically designed for cabinets, and consider the finish and color that will complement your kitchen’s style
- Prime Time: Apply a primer to create a strong bond between the paint and the cabinet surface, and to cover any stains or imperfections
- Roll with It: Use a high-quality roller or brush to apply the paint, working in thin, even coats to avoid drips and unevenness
- Seal the Deal: Apply a clear coat of polyurethane to protect the paint and give your cabinets a durable, long-lasting finish
Key Takeaways for a Successful Cabinet Makeover
With the right preparation and technique, you can transform your kitchen cabinets from dull to dazzling with a fresh coat of paint
Remember to choose a paint color that complements your kitchen’s overall aesthetic and don’t be afraid to add a personal touch with unique hardware or accents
By following these simple steps and tips, you’ll be well on your way to creating a beautiful, one-of-a-kind kitchen space that reflects your personal style and flair
Transforming Your Space
A fresh coat of paint on your kitchen cabinets is more than just a cosmetic update, it’s a chance to redefine the heart of your home and make it a reflection of your personality, a space where memories are made and love is shared.
Emily Wilson
Bringing It All Together
As we’ve explored the world of cabinet painting, it’s clear that giving your kitchen a fresh new look is within reach. From the initial preparation to the final coat, each step is crucial in achieving a professional-looking finish. We’ve covered the essential tools and techniques needed to get started, and by following these guidelines, you’ll be well on your way to a beautiful, transformed kitchen. Whether you’re a seasoned DIY enthusiast or a beginner, the sense of accomplishment that comes with painting your own cabinets is incredibly rewarding.
So, as you embark on this exciting project, remember that it’s not just about applying a fresh coat of paint – it’s about breathing new life into the heart of your home. With patience, creativity, and a bit of elbow grease, you can create a space that’s not only functional but also truly reflective of your personal style. Happy painting, and get ready to fall in love with your kitchen all over again!
Frequently Asked Questions
What kind of paint is best suited for kitchen cabinets?
For kitchen cabinets, you’ll want a durable, water-resistant paint. I recommend using a high-quality latex or oil-based enamel paint, specifically designed for cabinets and trim. These paints are formulated to withstand the wear and tear of a busy kitchen, and come in a wide range of finishes, from matte to high-gloss.
How do I prepare my cabinets for painting to ensure a smooth finish?
To prep your cabinets for a silky smooth finish, start by removing all hardware and giving them a good clean with a degreaser to wipe away any grease or grime. Then, lightly sand the surfaces to create a grip for the paint – it’s like giving your cabinets a mini-spa day to get them ready for their fresh new look!
Can I paint my kitchen cabinets if they have a laminate or glossy finish?
Absolutely, you can paint laminate or glossy cabinets, but prep work is key. Lightly sand the surface to create a grip for the paint, and consider using a primer specifically designed for slick surfaces to ensure a strong bond and a beautiful finish.